Note: This article is really old and is from when I was in high school. I don't recommend this method, use the kit instead.
This is the cheap man's way of backlighting the game boy pocket. The contrast isn't quite as good, but it's a bit brighter, and cheaper in some situations than buying the kit.
Before I explain how to actually do the mod, I'll summarize it in a general sense so the actual steps make more sense. Basically, we'll be doing three things: Making the LCD screen transparent (instead of reflective), finding and assembling a backlight assembly, and putting it all together and sealing it up.
PART 1:
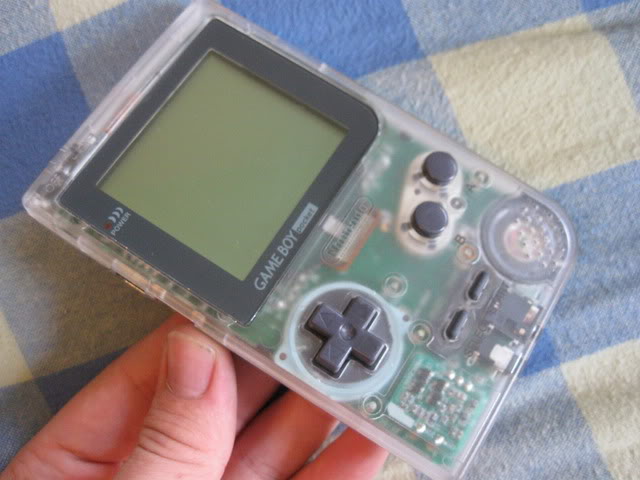
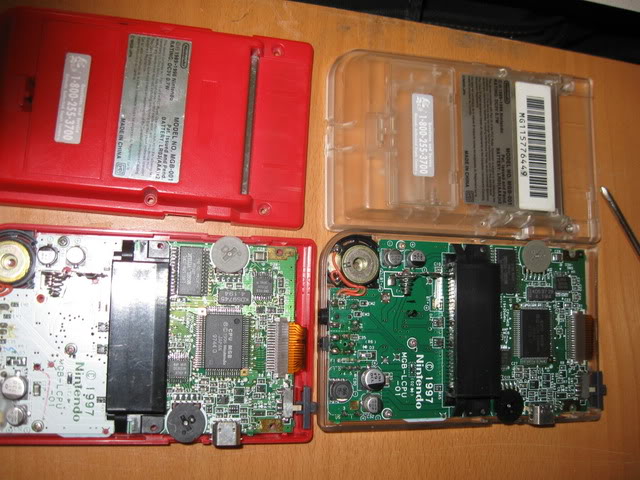
1) Pick your Game Boy Pocket. I personally like the clear one the best, but I only had a red one at the time, so I used that. (I later got a clear one in unused condition (literally) so I transferred the guts into it, so the clear one in the pictures I got later.)
2) Take the back shell off. There are 6 triwing screws on the back of the GB Pocket: two on the top, two in the centre sides, and two under the battery cover.

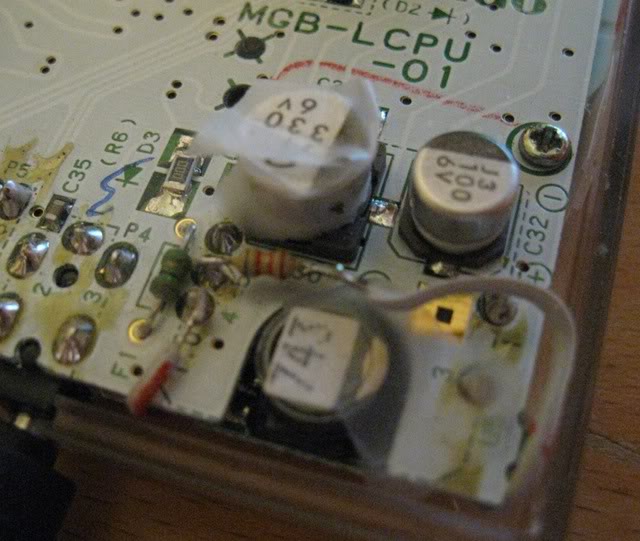
3) Now you are seeing the bare back of the motherboard.
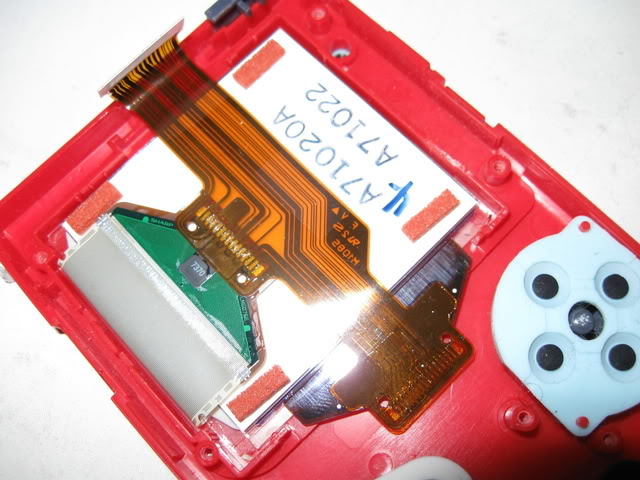
4) Towards the top, there is an orange cable going down below, and on the sides of the ribbon are two white tabs. Push them away from you, towards the top of the game boy, and gently pull the ribbon out of the socket.
5) Now, unscrew the 3 screws on the motherboard (Phillips screws), and store them. Lift up the motherboard, and you will see the front half of the GB Pocket.
6) Look at the screen module, and gently stick a credit card or something in the little slot underneath the ribbon, above the LCD. Pry up gently until the LCD comes free.
7) With the LCD free, gently peel off the four orange foam blocks, and stick them onto the motherboard in a place so they will cushion the LCD.
8) Here is the obnoxious part. There are a lot of ways to do this, but I'll describe what worked for me once. Take a piece of paper towel the size of the LCD, and dampen (but not soak!) it, and place it onto the white backing of the LCD. Let it sit under mild pressure for 10 minutes or so.

9) After it's soaked, CAREFULLY peel off the white layer. If any adhesive remains after you are done, use an old credit card and some 3M Adhesive Remover (or saliva, both work) to remove it with light rubbing motions. AVOID DAMAGING THE CABLES. Now, put the LCD back.
PART 2:
1) Instead of spending time making a backlight, we're just going to steal one from some old broken Nintendo DS or DS Lite (or second edition GBASP)
2) Take the broken LCD of your handheld of choice, and remove it. By bending the little tabs, remove the LCD from the backlight assembly.
3) You will be left with two leads coming out of a square of metal that is made of several layers. Remove the outermost hard metal layer, and a very shiny milar layer will be visible. DO NOT DENT THIS!
4) Cut down the assembly into a ~22 square without breaking the orange LED strip.
5) Carefully place the assembly shiny-side up into the LCD you prepped earlier, and tape it in place gently. You will need to snip away the top of the LCD holder inside the GB Pocket shell to fit it, so do that. Solder wires in place for the LEDs, too (I labeled mine in the picture)
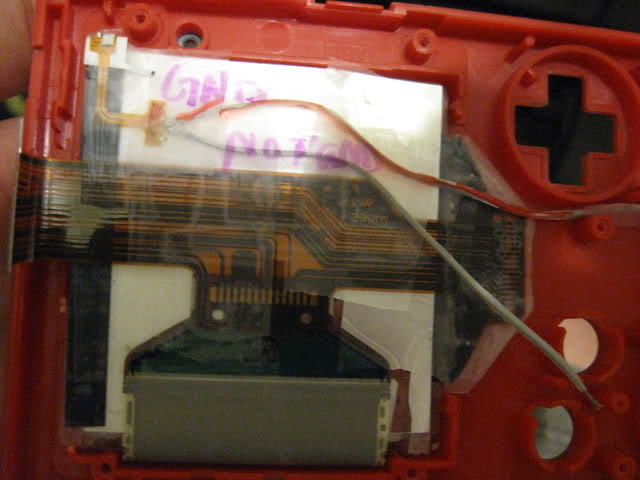
Also, solder the wires as shown here:
NOTE: You will need a 5.2KO resistor (green red red gold) for massive brightness. Otherwise, the LCD will grow dim.
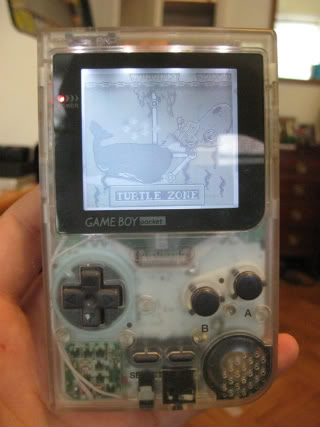
6) Route the wires through your GB Pocket (if you have a clear one, try to route them with as little tape as possible, and around the sides to make it look nicer.)

This is how I routed it for the clear one:
PART 3:
1) With your wires soldered and insulated, replace everything back to where it was and close er up!
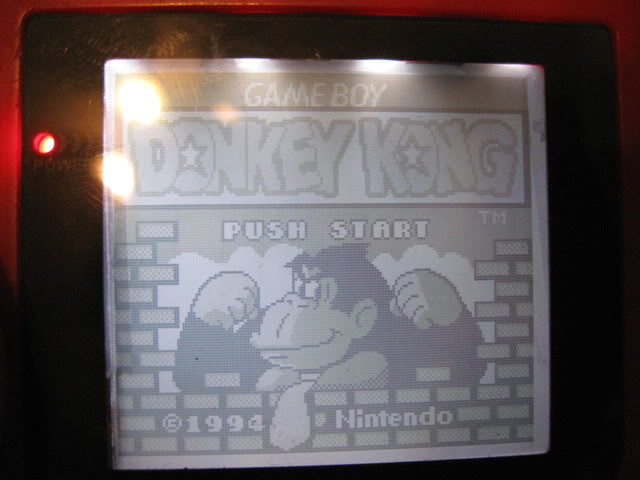
2) Turn it on, and play Donkey Kong all night long.
Back to main index