Okay, so a lot of people have been using this page as a reference and I don't want anyone to be misled, so I am putting a few updates / messages here.
-Use a 75 ohm resistor and a 220uF capacitor in series with the pB and pR lines (negative end of cap faces the output)
-Use the existing S-video Y line, it is the same Y line that YPbPr uses
-Don't follow much below to the tee, I didn't expect people to start doing it verbatim
-People at NESDEV have done some cool stuff with it. Maybe look at this: http://forums.nesdev.com/viewtopic.php?f=12&t=11092
-Despite what others have said seriously just use the S-video Y line
The SNES typically will put out 15khz RGB video, which is all well and nice. Still, the original S-RGB encoder chip does a poor job in the clamping stage of preparing the RGB for output and as a result the video is somewhat blurry and it has vertical lines on it. I had a CXA1645 encoder and hoped to install it in place of the S-RGB encoder in my SNES.
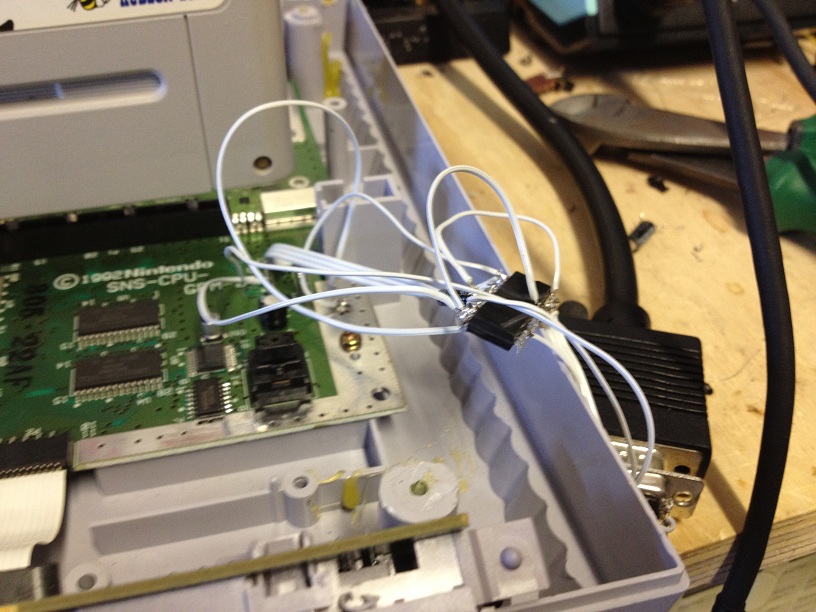
If you know me, you will know that I tend to add a VGA-style port on the back for RGB output (as my projector, despite being sold in the US, accepts 15khz RGB through these pins). All my consoles have this port for this reason. I've been also standardizing power connections, adding this normal computer-type AC plug with an internal power solution.

(this photo was taken prior to actual mounting so it is crooked)
In desoldering the original S-RGB encoder, though, I got a big nasty solder blob on the SPC700 chip, and in trying to remove the blob I made it worse. That SNES is likely not coming back to life (though I was able to use its VRAM so not all is lost but that is another story)
Annoyed at what I had done I bought an old beat up SNES deck with the intention of swapping motherboards and proceeding.
When I got my new (old) SNES, I ripped it open to add the VGA port. I found a different video encoder, S-ENC, in a different spot than my previous SNES. I wired it up the way I had it before with the S-RGB chip and hooked it up.
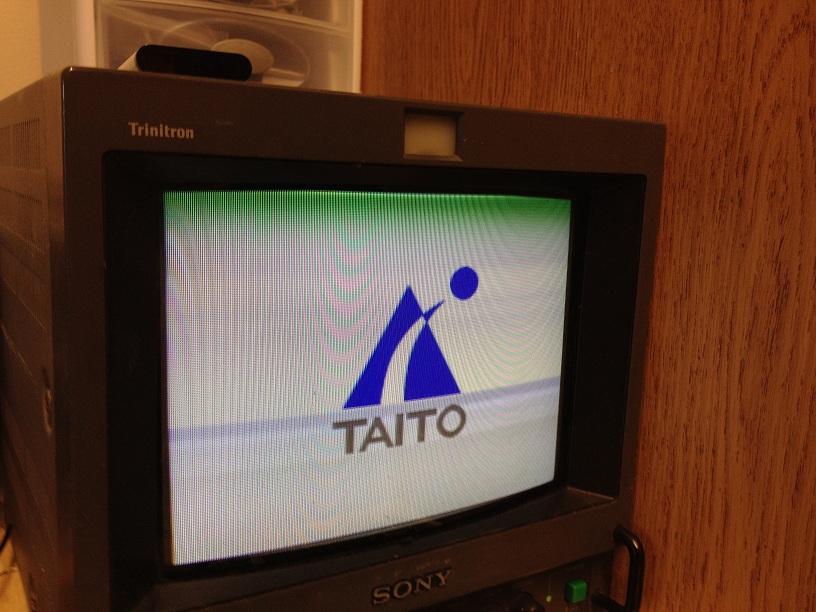
The image was unstable, very red, and had weak blur lines through it (if more of a color occurs, the weaker it is).
I was confused until I looked closely and saw that this encoder chip did not even RESEMBLE the previous SNES's!
I desoldered the S-ENC, and tried to pull straight RGB. It worked, but it looked hazy and had smeared lines everywhere.
Before putting the S-ENC chip back, I thought I would try the CXA1645. It kind of worked but the color depth was strongly reduced and it looked awful. I'm sure I did something wrong since I don't know how to really properly set it up.
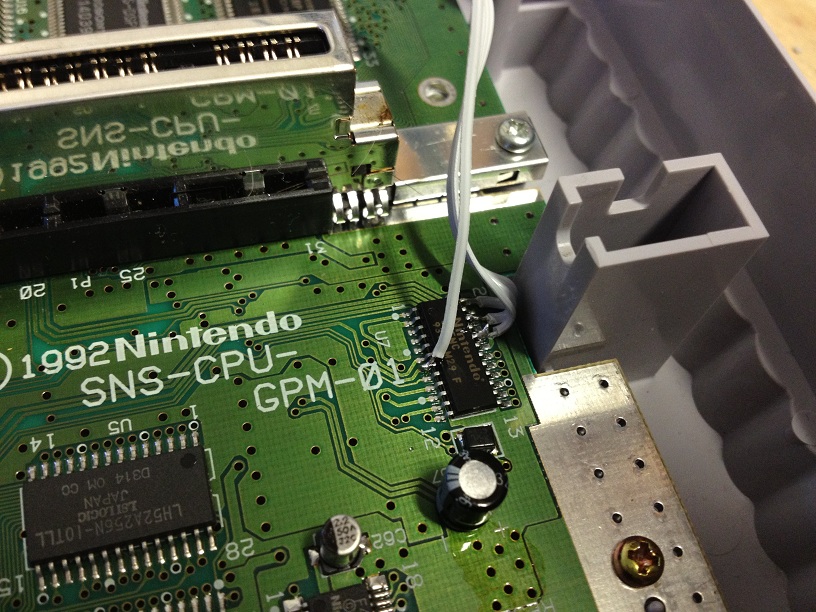
After a lot of work I found the datasheet and it turns out that while clamped RGB output is not provided, yPbPr output is produced from this chip! I put the S-ENC back and soldered to the appropriate pins.
Pr (red) went to pin 1
Y (green) went to pin 24
Pb (blue) went to pin 23
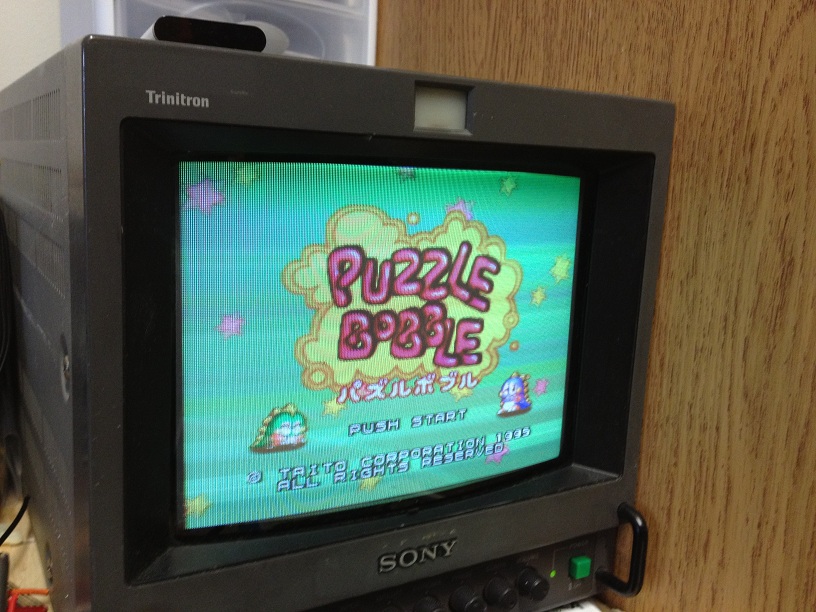
My projector also supports this signal through the same pins so I wired it appropriately and the image looks brilliant! Sync over the Y line works; everything is as it should be. What's more is that it is now more compatible with US televisions as many have component YPbPr while few have RGB.
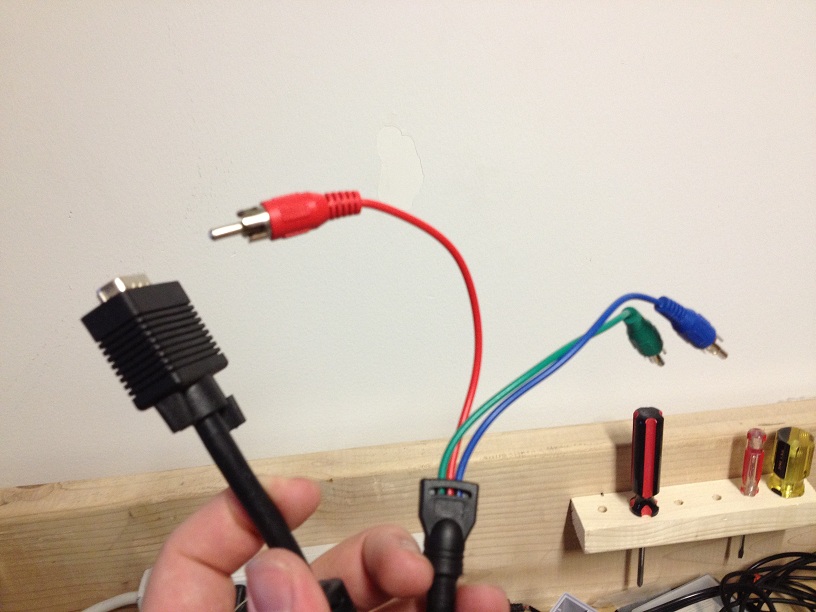
I just used one of these cables:
If anyone is having trouble finding the datasheet it has been very elusive so I have mirrored it: http://mikejmoffitt.com/BA6592F.pdf
Back to main index